Church Windows Installation
To install Church Windows for the first time (or as an upgrade):
- You can check the most current version number of Church Windows on the Download Current Updates page of our website.
- Be sure that your computer meets the Minimum System Requirements needed to run Church Windows successfully.
- You must be logged on to your computer with Administrator rights.
- Exit ALL open programs.
- If you are upgrading from a prior version begin by Making a Backup.
- Then, use either method to open the install wizard:
- In the email you received from
Church Windows, click Download
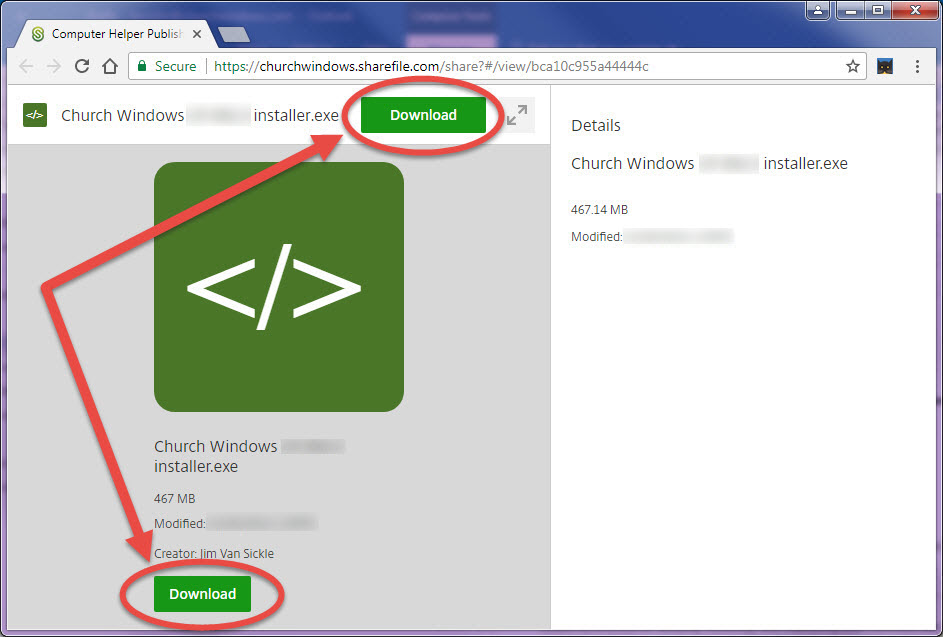
- This will take you to the website where you will download the installer file, click either Download button to save the installer file (.EXE file) to your computer:
- Make note of where you save this file on your computer (if you're not sure where the file was saved, try checking in the Downloads folder on your computer):
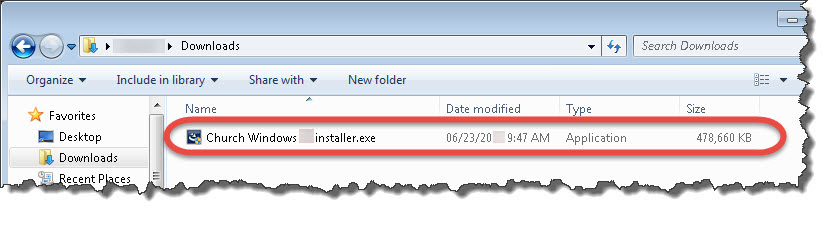
- Double click on the .EXE file that you downloaded to launch the installer.
- Insert the CD into the drive.
- The install program should start automatically.
- If it does not, then click Start, choose Run (or in the Search bar) type D:autorun.exe. Click OK. (This assumes D: represents the letter of the CD drive. If your drive is another letter, use it instead of D.)
- On the Start screen of the installation program, select Install Church Windows
- Then choose Install a new instance of this application (or Upgrade). Click → Next.
- Follow the on-screen instructions choosing one of the following:

- Server (Or Single Computer) — If you are installing on a server (see Network Installation) or a stand-alonecomputer and you want the data to reside on this computer.
- Workstation — If you are going to connect to a server and do not want the data to reside on this computer (see Network Installation).
- Trial — Installs an empty restricted trial to enter your own data.
- Trial With Data — Installs with sample data to experiment with the features without having to enter your own data.
- It will also ask you where to install the program. It will default to a folder called CW on the root of the C: drive. This is the preferred location but if there is another drive or folder name you wish to use, you can click on the Change button on the right to customize it.
- At the final screen before the install starts, you can verify that the correct parameters are selected before starting the install:
- Clicking on the Install button will begin the installation.
- You will know the program has finished installing when you get the screen with a Finish button at the bottom:

- When prompted for a " Church Name", type the name of your Church or organization as you would like it to appear at the top of all of your reports. The name can be up to 100 characters. Use care when entering the name, as it will become hard-coded into your System Information.
 Download Link
Note:
If you have not been receiving our emails,
please contact our Technical Support staff at 800.533.5227 or support@churchwindows.com (be sure to add this address to your email contacts list to ensure delivery) or visit the Support Center on our website for additional training materials..
CD
Note:
Church Windows no longer mails installation CDs to users, instead we now send an email containing a Download Link for each new update (both full versions and service releases). However, if you would strongly prefer to receive CDs in the mail or if you have not been receiving our email updates, please contact our Technical Support staff at 800.533.5227 or support@churchwindows.com (be sure to add this address to your email contacts list to ensure delivery) or visit the Support Center on our website for additional training materials.. You can check the most current version number of Church Windows on the Download Current Updates page of our website.
Note:
If your security software displays a message about installing files, you must click on YES or OK to allow Church Windows to install / make changes:


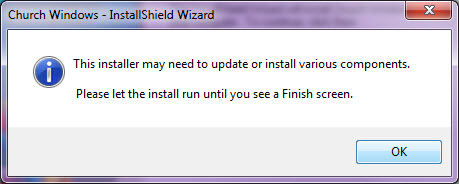
Important!
Only click on the Install button ONCE, and please be patient while the program installs. There are a number of steps it will go through and many screens will appear and disappear a few times throughout the install process, do not close any of them:
When you open the program for the first time, you will be prompted to tell the computer if you are going to start entering data from scratch or use existing data if you have a backup to restore:

Continue With Empty DatabasesWill take you to The Initial Portal and you will be able to begin entering your Church's data.
Restore Existing Church Windows DataWill open the Restore screen where you can select the location of the backup you want to restore. For more help on restoring, see Restoring a Backup.
